


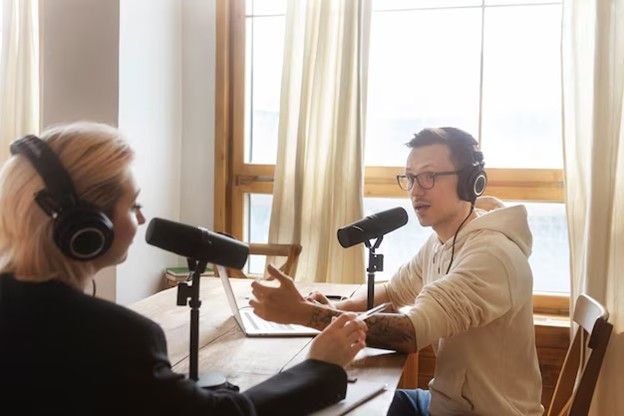
In the world of YouTube content creation, high-quality audio is just as crucial as stunning visuals. While audiences might tolerate lower video resolution, poor sound quality can quickly drive viewers away. Whether you're recording vlogs, gaming content, tutorials, or professional interviews, investing in the right microphone for Youtube can make a significant difference.
Choosing the best microphone for YouTube videos involves understanding different types of mics, how they perform in various scenarios, and what factors matter most for clear and professional audio. This guide will explore the best YouTuber microphones available in 2025, considerations for selecting the right mic for YouTube content, and practical tips to improve audio quality.
Types of Microphones YouTubers Choose
Different YouTubers have different needs based on the type of content they create. Here are the primary types of microphones for YouTubers, along with real-world examples of successful creators using them:
1.USB Microphones – Best for Youtube beginners and streamers, plug-and-play convenience, great for podcasts, voiceovers, and live streaming
Overview: USB microphones for Youtubers are a favorite among new YouTubers because they are easy to use and require no additional equipment. Just plug them into your computer, and you're ready to record.
Best for: Podcasts, voiceovers, live streaming, and gaming commentary.
Example: YouTuber PewDiePie, known for his gaming and reaction videos, often uses high-quality USB microphones for seamless, high-quality sound during his streams.
2.Lavalier (Lapel)/Wireless Microphones – Best for vloggers, interviews,filmmaking and on-the-go shooting.

Overview: Lavalier microphones are small, clip-on mics that provide hands-free recording. They are excellent for mobile content creators who need flexibility.
Best for: Vlogs, interviews, fitness channels, and outdoor shooting.
Example: YouTuber Casey Neistat, known for his high-energy vlogs, frequently uses lavalier microphones for clear, on-the-go audio.
Factors considered by YouTubers When Choosing a Microphone
When selecting a YouTuber microphone, YouTubers must consider several key factors to ensure high-quality audio for their content. A good mic not only improves sound clarity but also enhances the overall production value. Here are the main factors when choosing a YouTuber microphone:
1. Audio Quality
The most important factor in choosing a microphone for Youtube is audio quality. Clear, natural voice reproduction is essential for engaging content. Several aspects impact sound quality:
Frequency Response: The range of sound frequencies a microphone can capture. A broader range provides richer, more accurate sound.
Sensitivity: How well the microphone picks up quiet sounds. A moderate sensitivity is ideal to avoid unwanted background noise.
Noise Rejection: Features like noise-canceling or directional polar patterns (such as cardioid) help minimize ambient sounds, ensuring clear voice capture.
2. YouTuber Microphone Type
The type of microphone you choose depends on your content style and environment:
Condenser Microphones: These are highly sensitive and capture more detail, making them ideal for controlled environments like studios. They’re great for voiceovers, tutorials, or music-based content.
Dynamic Microphones: Less sensitive and more durable, dynamic mics are suited for noisy environments. They are often used by vloggers or gamers who record in less-controlled settings.
3. Connectivity & Compatibility
The connectivity options determine how the mic integrates into your YouTube recording setup:
USB: These are easy to use and ideal for beginners. They offer plug-and-play convenience, making them great for casual content creators who need simplicity.
XLR: Preferred by professionals, XLR mics deliver superior audio quality and flexibility but require an audio interface or mixer. They’re best for high-production content like interviews or multi-microphone setups.
Wireless: Ideal for vloggers or content creators on the move, wireless mics offer mobility without being restricted by cables, though they may require more setup and a higher budget.
4. Directionality (Polar Patterns)
A YouTuber microphone’s polar pattern determines the direction in which it picks up sound. Different patterns suit different recording situations:
Cardioid: Best for solo YouTubers, this pattern captures sound primarily from the front while rejecting noise from the sides and rear. Ideal for voiceovers and commentary.
Omnidirectional: Picks up sound from all directions, making it useful for group recordings or interviews but more prone to noise.
Bidirectional & Stereo: Bidirectional mics are good for interviews, while stereo mics capture sound in two channels, providing a wider audio field.
5. Portability & Setup
Portability is important for YouTubers who travel or shoot content in various locations:
Compact & Lightweight: Small, lightweight mics are easy to carry and set up, making them perfect for vloggers and on-the-go creators.
Quick Setup: Microphones for YouTube that are easy to set up can save time and hassle, especially for creators who record frequently in different environments.
6. Budget vs. Features
Budget is often a significant factor, but it’s essential to find a balance between cost and features:
Cost-Effective Options: USB mics are affordable and still provide decent audio quality for YouTubers just starting or with a limited budget.
Advanced Features: Higher-end mics, such as XLR models, offer superior sound quality and additional features, like noise cancellation or multiple polar patterns. These are ideal for experienced content creators seeking professional-grade equipment.
Best Microphones for YouTubers
1.Best USB Microphones for Vlogging, Interviews & Outdoor Recording
NearStream AM25X — Best for Streaming, Gaming & Podcasting on a Budget
Clear Audio with Adjustable Noise Canceling – Supercardioid pattern minimizes background noise, AI-powered noise suppression removes distractions like keyboard clicks.
USB/XLR Hybrid for Versatile Use – USB for streaming and recording, XLR for professional audio setups (note: XLR cable not included).
Smart 4-in-1 Control Knob – Adjust noise canceling, gain (15 levels), mute, and volume with a single knob.
Real-Time Monitoring & Plug-and-Play – 3.5mm headphone jack for latency-free monitoring (USB mode only), works instantly with PC, PS4, PS5.
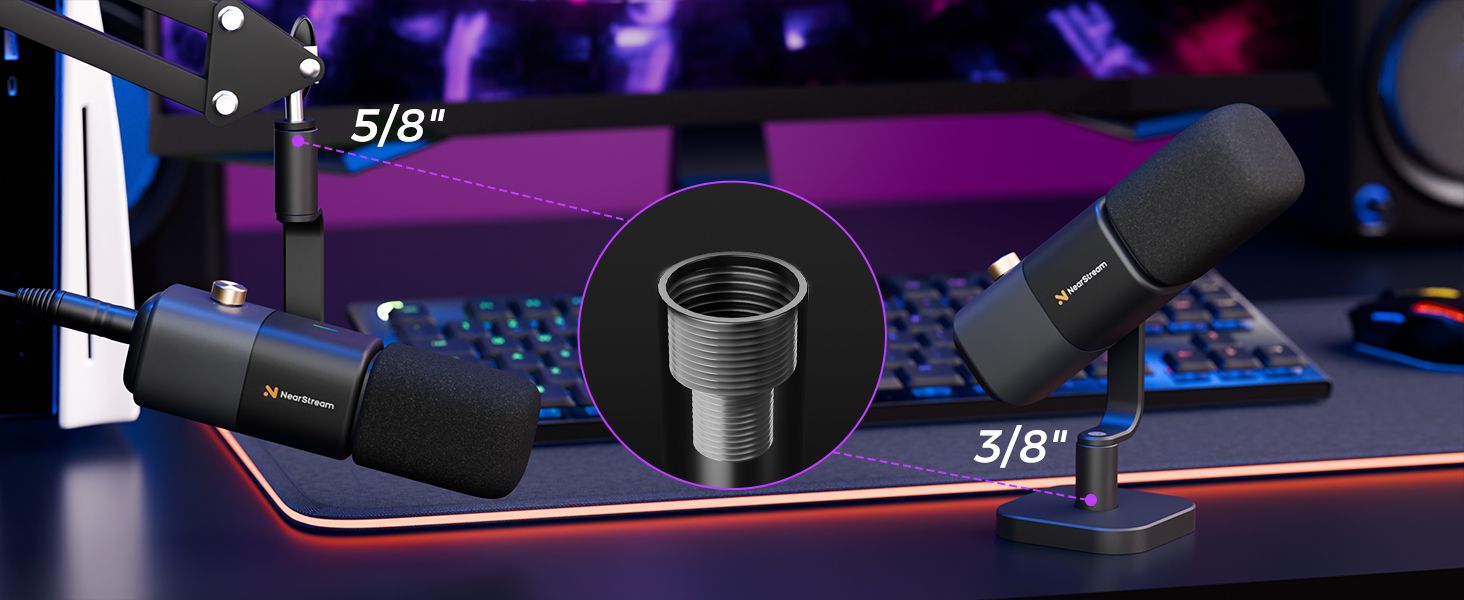
Durable & Flexible Design – Sturdy metal stand, anti-scratch base, and boom arm compatibility for flexible positioning.
Shure MV7 — Best for Streaming, Podcasting & YouTube with Pro-Level Audio
Broadcast-Quality Sound – Voice Isolation Technology ensures clear, professional vocals.
USB & XLR Connectivity – Use USB for easy setup or XLR for high-end audio gear.
Real-Time Denoiser & Digital Pop Filter – Removes background noise and plosive sounds for clean recordings.
LED Touch Panel & Quick Mute – Multi-color LED meter for volume monitoring and instant mute.
OBS Certified & Streaming-Ready – Seamless integration with Open Broadcaster Software (OBS) for live streaming.
Blue Yeti — Best for Beginners & Multi-Purpose Streaming
Multiple Recording Modes – Cardioid, bidirectional, omnidirectional & stereo for different needs.
High-Quality Sound Capture – Tri-capsule array for versatile recording in any situation.
Easy Controls – Gain adjustment, mute button, and zero-latency headphone monitoring.
Versatile Use – Ideal for podcasting, voiceovers, interviews, music, and conference calls.
Rode NT-USB — Best for Streaming, Voiceovers & Studio-Quality Recording
Pristine Studio Sound – Delivers warmth and clarity for vocals, instruments, and narration.
USB Simplicity with Pro Features – Built-in digital processing with noise gate, compressor, and APHEX effects.
Integrated Headphone Monitoring – Studio-grade amplifier with precision volume control.
Plug-and-Play for Any Setup – Works effortlessly for podcasting, music, and video calls.
2.Best Wireless Microphones for Vlogging, Interviews & Outdoor Recording
NearStream AWM20T — Best for Streaming, Interviews, Podcasts, Outdoor Content & Live Vlogging
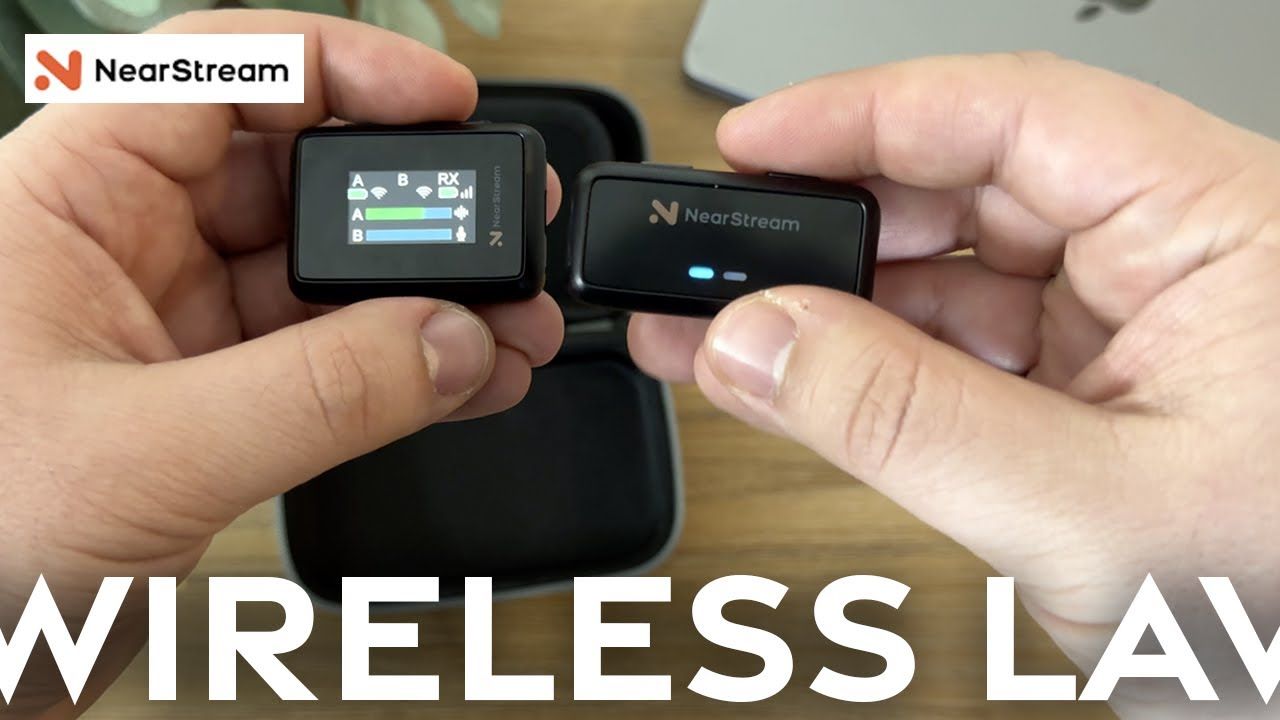
Clear Sound with Noise Canceling – Filters out background noise with ENC technology and windscreen.
Long-Range Wireless (656ft/200m) – Stable 2.4GHz digital transmission with low latency.
Extended Battery Life (20H Total) – Transmitter (7H), receiver (6H), plus a charging case for longer use.
Easy Monitoring & Plug-and-Play – LCD display for live tracking; no app or Bluetooth needed.
Broad Compatibility – Works with smartphones, cameras, tablets, and PCs via 3.5mm & USB-C.
Real-Time Monitoring & External Mic Support – Adjust audio live and connect an extra mic for dual input.
Rode Wireless GO II — Best for Streaming Interviews, Dual-Person Podcasts & Multi-Speaker Setups
Dual-Channel Recording – Capture two audio sources for interviews or multi-speaker setups.
Versatile Connectivity – Works with cameras, computers, and mobile devices (cables may be needed).
On-Board Recording (40+ Hours) – No worries about dropouts; records directly on transmitters.
Ultra-Compact & Built-in Mics – Clip directly onto subjects or use with a lavalier mic.
Software Integration – Compatible with RØDE Connect for streaming and podcasting.
Sennheiser XSW-D — Best for Streaming High-Quality Content, Professional YouTube & Studio-Grade Audio
High-End, Broadcast-Quality Audio – Crisp, clear sound with a signal-to-noise ratio of ≥ 106 dB.
Easy Setup & Reliable Connection – Pre-paired units with automatic interference management.
Global 2.4GHz Wireless – License-free use worldwide.
Compact & Lightweight – Easily hidden and stored for seamless use.
Fast Charging & Continuous Use – Charge during operation; 50% battery in 1 hour, 5-hour total runtime.
Tips: Improve Your Audio Quality for YouTube Videos
Having a great Youtuber mic for YouTube videos is just the first step. To truly achieve professional-quality audio, YouTubers must optimize their recording setup, use the right accessories, and apply post-production techniques. Here’s a detailed breakdown of how you can enhance your YouTube audio:
1. Proper Mic Placement and Distance
One of the biggest mistakes beginners make is poor placement. Even the best Youtuber microphones will sound subpar if they are not positioned correctly.
Ideal Distance: Generally, 6 to 12 inches (15-30 cm) from your mouth is optimal for most mics for YouTube videos. Being too close can cause "popping" sounds and distortion, while being too far can result in a weak or echoey recording.
Angle the Mic Properly: Instead of speaking directly into the mic, angle it slightly to the side (about 45 degrees) to reduce plosive sounds (like "p" and "b" sounds).
Use a Boom Arm or Mic Stand: A stand helps you maintain a consistent mic position while reducing vibrations from your desk.
2. Using Pop Filters and Windshields to Reduce Noise
A pop filter is a simple yet effective accessory that reduces plosive sounds and prevents bursts of air from hitting the mic for YouTube videos. A windshield is essential for outdoor recording to minimize wind noise.
Pop Filter for Studio Mics: Attaches to the front of your YouTuber mic to soften hard consonants (p, t, k).
Foam Windshield for Dynamic Mics: Used in outdoor conditions to reduce wind interference.
Dead Cat Windshield for Lavalier Mics: Vloggers who film outside (e.g., travel vloggers) should use a fuzzy dead cat windshield to eliminate wind noise.
3. Controlling Background Noise and Echo
Even if your mic for YouTube videos has noise-canceling features, additional steps can further improve sound quality.
Record in a Quiet Room: Avoid spaces with a lot of noise (fans, air conditioners, traffic sounds).
Use Acoustic Treatment: Foam panels, rugs, or even thick curtains can reduce reverb and echo, improving sound quality.
Example: Ali Abdaal, an educational YouTuber, improved his home studio setup with soundproofing foam panels to reduce echo and improve YouTube audio clarity.
4. Adjusting Audio Settings for Better Recording
Adjusting your gain, volume, and EQ settings of the Youtuber mic ensures the best sound output.
Gain Control: Too much gain can cause distortion, while too little makes your voice hard to hear. Adjust it to find a balance where your voice is loud and clear without peaking.
Monitor YouTube Audio in Real-Time: Many USB and XLR mics, like the NearStream AM25X, allow real-time headphone monitoring so you can hear what you sound like while recording.
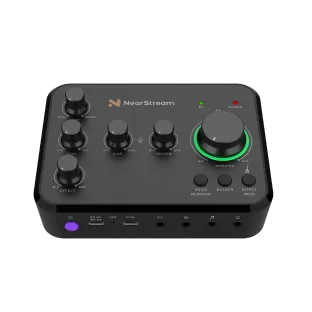
Use a Dedicated Audio Mixer: The NearStream AMIX40U is great for controlling multiple audio sources during a stream.
5. Post-Production Audio Editing Tips
Even if you record great YouTube audio, post-processing can enhance it further. Use software (Adobe Audition, Audacity, iZotope RX 10, GarageBand, Reaper) to remove noise, equalize your voice, and add subtle compression.
Post-Processing Steps for Better Audio
Noise Reduction: Remove background hums and hissing sounds. Adobe Audition’s "Adaptive Noise Reduction" tool works well for this.
Equalization (EQ): Adjust bass, mid, and treble to make your voice sound richer. Many YouTubers slightly boost mid-frequencies (2-5 kHz) for vocal clarity.
Compression: Helps maintain a consistent volume by preventing sudden loud or soft parts.
Normalization: Adjusts audio levels to match professional YouTube sound standards.
Final Thoughts: Take Your YouTube Mic to the Next Level
Choosing the right YouTuber microphone is essential for creating high-quality YouTube content. Whether you need a simple USB mic for podcasts, a lavalier mic for vlogging, or a professional XLR setup for studio recordings, there are excellent mics for YouTube available in 2025. Investing in good audio equipment will enhance your videos and help you build a more professional and engaging YouTube channel.